

Ali & Jam — two colour enthusiasts from the UK who set up the studio hello DODO™ together — show you in this hands-on DEMO how you can use it to print on socks, for example. Something different from the usual T-shirts! It's not difficult, as you'll see. But it is fun — so let's print those socks!

This FLEX™ screen printing ink has inspired us to think beyond the usual T-shirts and sweatshirts that we regularly print on. We have become very enthusiastic about printing on socks — and that is exactly what we are going to demonstrate here!
An additional advantage: because the ink penetrates the fibres of the fabric and does not remain on top, everything stays nice and soft and comfortable — Speedball® calls this 'soft hand'.
For our own work, we burn our designs onto the screen using the PHOTO EMULSION method, but for this DEMO we are using the CUT PAPER STENCIL method. We regularly give screen printing workshops with paper stencils and we have fallen in love with the practical and direct nature of this technique. It is also very accessible for anyone to try.
TIP! Would you like to know more about the different methods of screen printing? You can read all about it here.
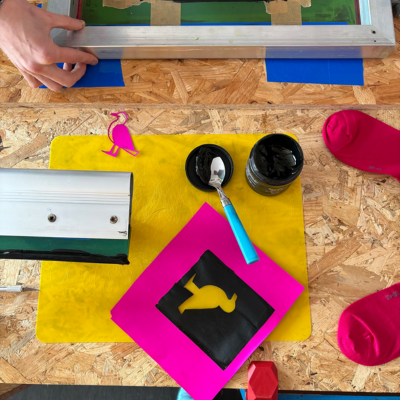
► Supplies — this is what we used
TIP! We prefer to work with 77T mesh, but you can also choose mesh with a lower or higher mesh count. The mesh count (T) indicates the number of meshes — the tiny holes through which you press the ink — per square inch (1 inch = 2.54 cm).
The higher the mesh count, the more meshes there are and the smaller those meshes are. And the less ink passes through those meshes. With screen printing frames with a higher mesh count (200T - 305T), you can print finer details. With screen printing frames with a lower mesh count (<150T), you get less fine detail. But they let more ink through. And that, in turn, is useful when printing on textiles!
- Speedball® | screen printing frame
- Speedball® | squeegee
- Speedball® | FLEX™ FABRIC SCREEN PRINTING INK
- spatula or palette knife
- thin paper for making your stencil
Super-smooth paper is ideal, such as Bristol board or marker paper.
- scissors or craft knife
- cutting mat (optional)
- paper for your test print
— any old scrap of paper will do!
- socks — or whatever you want to print on
- greyboard or other sturdy cardboard
- an old cloth or cleaning cloth
- tape to tape up your screen printing frame
TIP! This tape is also perfect for holding your inky squeegee — it keeps your hands clean.
TIP! It’s optional, but we prefer to use a printing board — it keeps everything firmly in place.
You can choose a ready-made one or make your own, as we did using a sheet of OSB and special hinge clamps.
► demo — and that’s how we worked ~ step by step
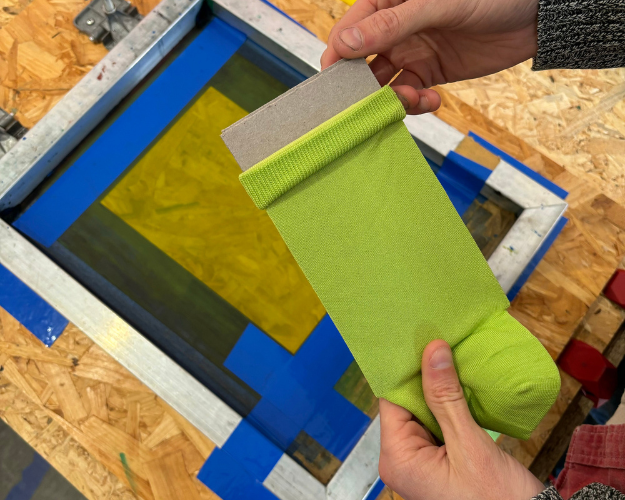
Before we start printing, we first need to prepare the socks — we use plain cotton socks.
You could, of course, print directly onto the socks, but because the fabric is always a bit uneven, you usually don’t get a nice, even print. That’s why we slip a piece of cardboard — greyboard works well — into each sock as an inlay, the same width as the top part of the sock to be printed.
TIP! We do this in every single sock. So not one piece of cardboard that we keep putting into different socks, but a separate piece of cardboard for each sock — that makes it easier and quicker!
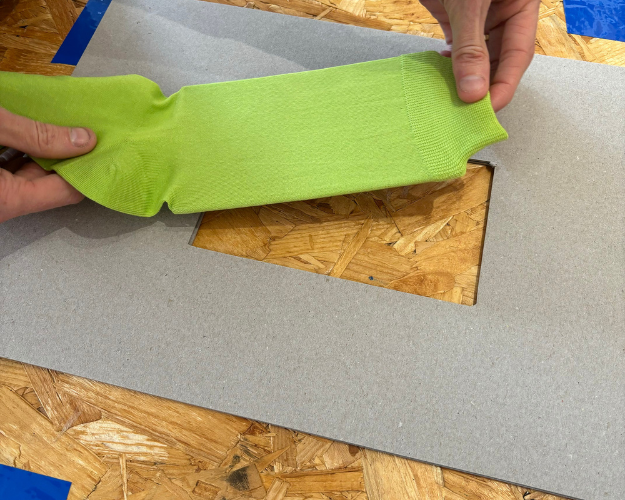
It’s handy if each sock is always positioned in the same place — the technical term for this is ‘registration’ — in relation to your screen printing frame.
There’s a simple trick for that! Cut an opening in a larger, but equally thick piece of cardboard, the size of the part of the sock to be printed. This opening is slightly larger than the small piece of cardboard we’ve slipped into the sock. It works best if you trace the outline of a sock with a small piece of cardboard inside using a pen or pencil — that way you can be sure it fits.
You only need to make this template — a sort of mat, really — once. You can then use it for each individual sock.
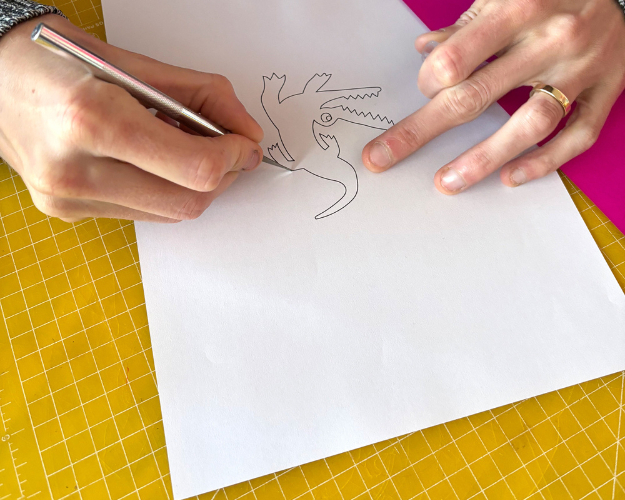
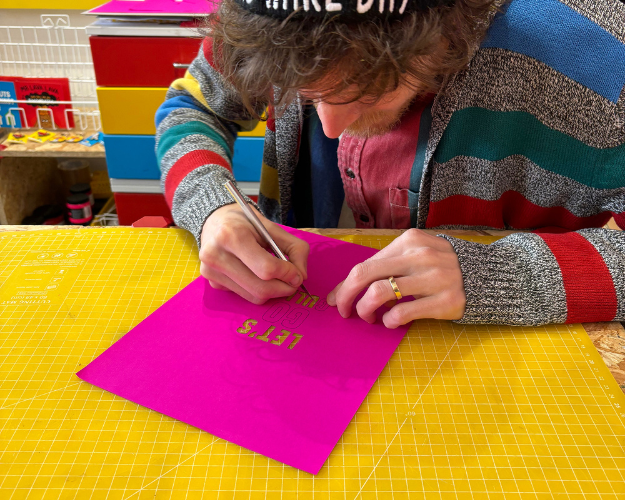
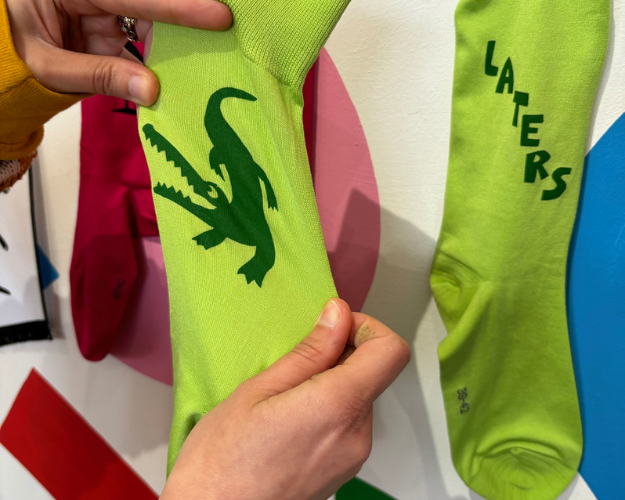
The stencil — you could also call it a template — can be drawn freehand or designed digitally and then printed. We’ve drawn an alligator for one side of the sock, and on the other side there’ll be a word — laters!
You can cut out your design with scissors or use a scalpel on a cutting mat. You can cut out extra shapes to add to the template, such as eyes or the middle parts of letters if your design includes words. We’ve done that here with the word stencil, but this requires a bit more experience.
Sometimes it’s hard to picture exactly what a design will look like when printed, as working with positive and negative space can be a bit confusing — but that’s all part of the fun of experimenting!
This may be stating the obvious, but just to be sure... The stencil we’re using is the sheet of paper with — in this example — the alligator cut out of it, not the alligator itself.
Where the mesh is covered by the stencil, the ink is blocked by the stencil — this becomes the negative space in the print. Where the mesh is not covered by the stencil, the ink passes through the mesh — this becomes the positive space in the print.
And that’s how we get a print of our alligator!
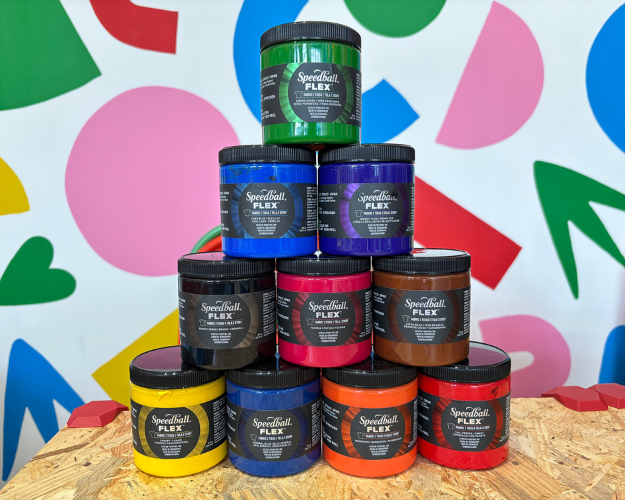
The vibrant, rich colours of FLEX™ screen printing ink offer superb coverage, whether you’re printing on a light or dark background. We chose 207 Spring Green — a shade of green that’s just that little bit different.
TIP! The — deliberately — limited colour palette has been specially curated for mixing your own colours — so you can create shades that no one else has.
Want to see all the colours? You can find them here!
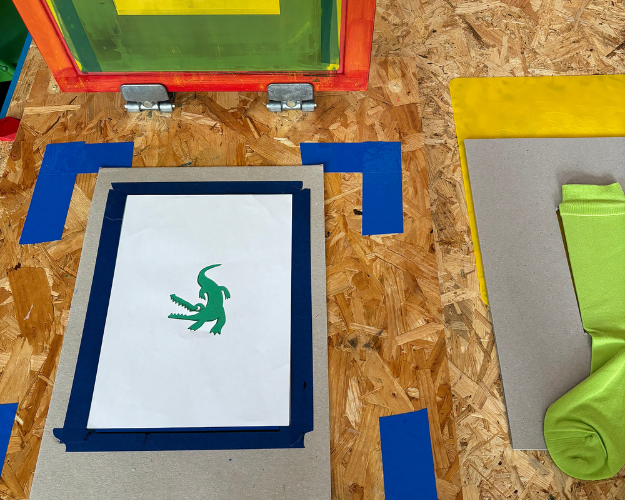
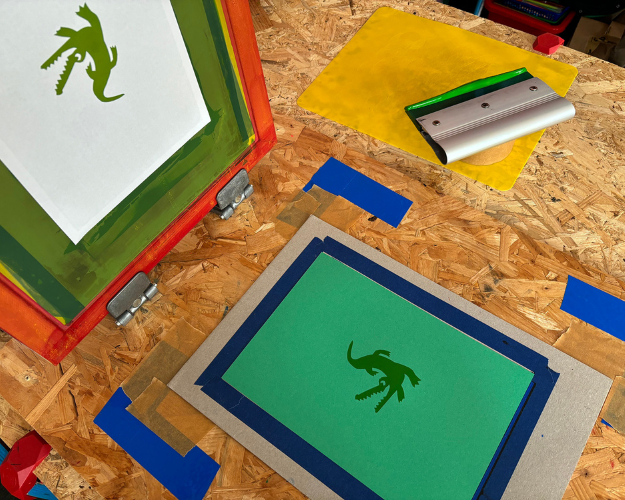
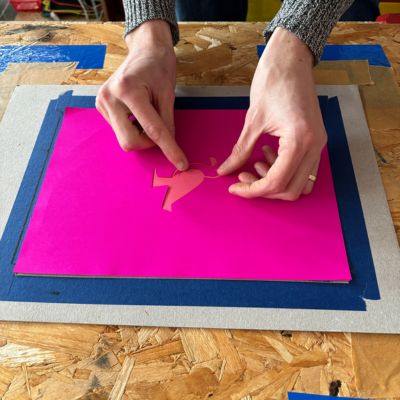
Now we’re going to align the stencil with the screen printing frame. We’ve placed the white stencil on a sheet of green paper so we can clearly see how the alligator will appear. Both sheets are resting loosely on a piece of greyboard, so we can move them around easily.
The dark blue tape is used to ensure everything is properly aligned. We can now lower the screen printing frame, check how everything lines up and adjust the stencil slightly if necessary.
TIP! By checking your stencil through the screen printing frame first, you can also avoid unwanted mirror-image or tilting effects.
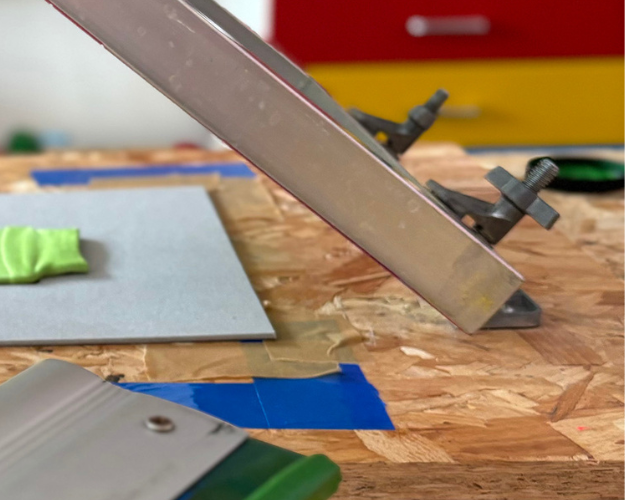
TIP! It’s optional, but we prefer to use a printing board, where your screen frame is secured to a base plate with two hinges — this keeps everything firmly in place.
Aligning, registering and printing itself is actually much easier when you use a printing board — with a loose screen frame, everything becomes much more difficult!
You can opt for a ready-made one or make your own, as we did using a sheet of OSB and special hinge clamps.
When using paper stencils, we first make one or more test prints, in this case on the green paper. This is an excellent way to check whether we are happy with the design before printing it onto the socks.
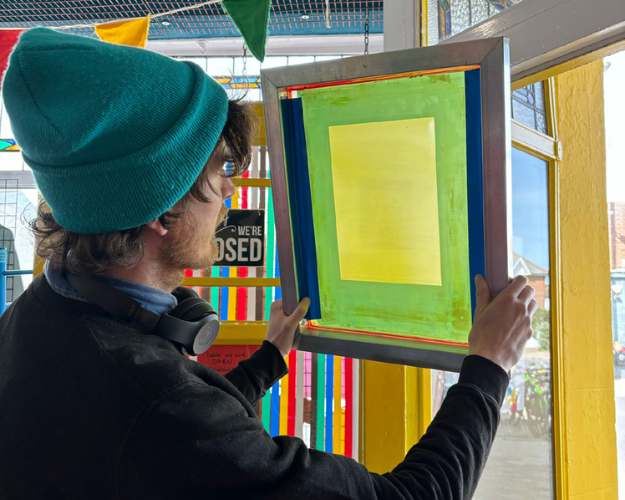
A screen printing frame has two sides. The substrate side — the flat back — and the inkwell side — the front, where the frame forms a raised edge around it. The stencil is ultimately placed on the substrate side.
For the first test print, the stencil is still loose on our printing board. The wet ink ensures that the stencil adheres to the mesh. If necessary, you can also secure the stencil on all four sides with tape to the substrate side of your screen printing frame.
As you can see, we use a screen printing frame with a burnt-in stencil shape — the dark green border on the mesh — which prevents ink from passing through. This isn’t strictly necessary; you could just as easily use a blank mesh.
To prevent ink from leaking out at the sides of your screen printing frame, tape the seam between the frame and the mesh on the inkwell side. For example, if you are using 5 cm wide tape, stick 2.5 cm onto the vertical edge of your frame, then fold the tape at a 90° angle and stick the remaining 2.5 cm — and possibly an extra strip of tape — onto your mesh.
Check carefully that only the positive space of your stencil is open and can let ink through. The rest of your mesh must be covered by paper or tape.
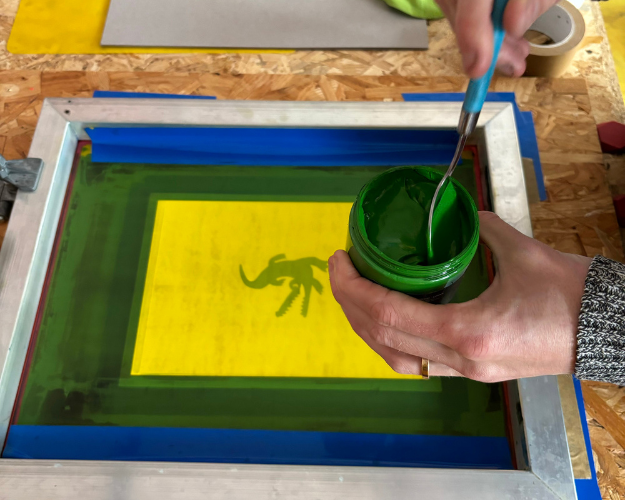
On the inkwell side of our screen printing frame, we place a generous amount of ink at the top of the stencil — the ink bead. We use a spoon for this.
TIP! We want the ink to make the paper stencil stick to the mesh, so the mesh must be inked across the entire length and width of the stencil, not just the part where the alligator has been cut out!
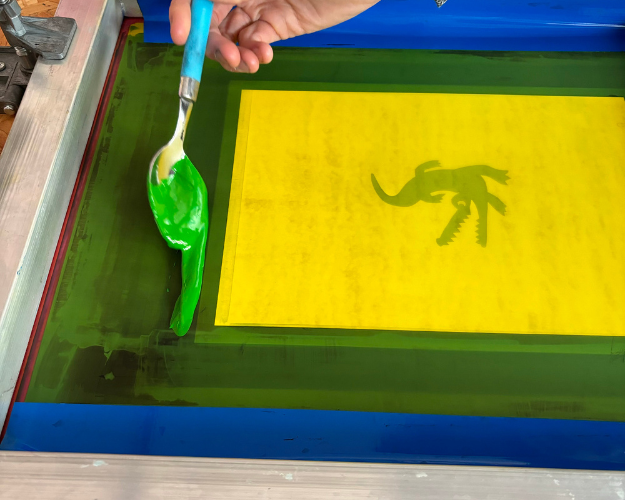
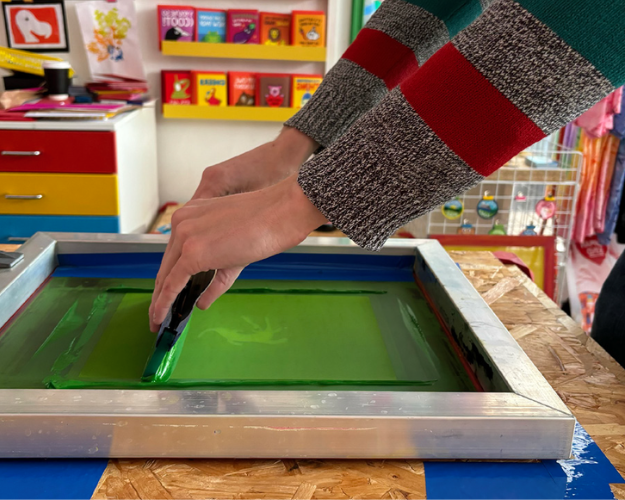
Now we gently and smoothly pull the squeegee across the mesh so that everything is completely covered with a thin layer of ink. This is how we ink the mesh, ensuring that all the mesh openings are filled with ink. At this stage, we do not apply any pressure. The aim is to leave a light film of ink in the mesh openings, without any ink seeping through.
TIP! If there are parts of your stencil that aren’t covered, you can repeat the step, perhaps using a little more ink.
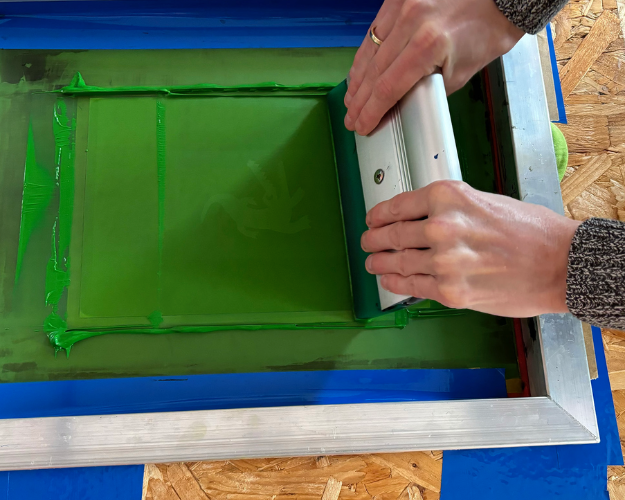
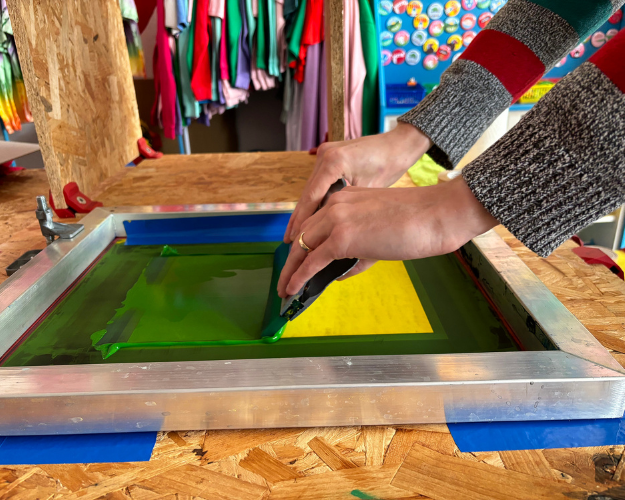
And now we’re ready to print! Move the squeegee back to the top of the screen and, this time, pull the ink down across the screen with firm, even pressure. Try to keep your squeegee at a consistent 45-degree angle as you pull it across the mesh.
With our 77T screen printing frame, we usually get the best results by repeating the flood stroke and the print stroke about three times, but once or twice may be enough for a lower mesh count. You can usually tell from your stencil whether the design — in this case the alligator — is ink-free after printing — if so, you’re good to go!
Once you’re happy with your test print, you’re ready to move on to aligning and printing your socks.
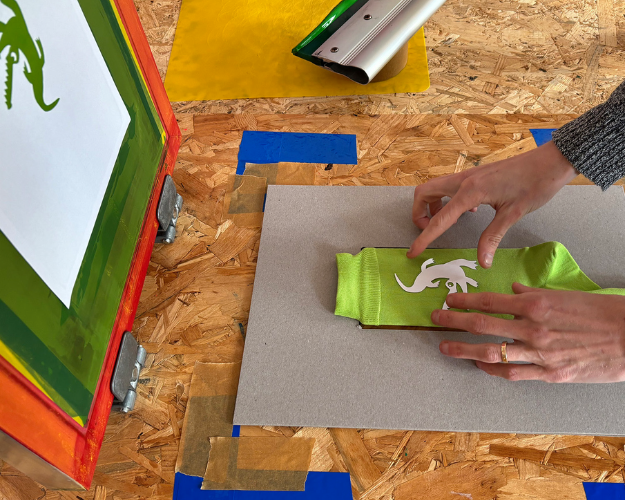
We now take the sock with the inlay from STEP 1 and place it in the template from STEP 2. Through the stencil – which is now stuck onto our screen printing frame following the test print on paper – we can check whether the sock underneath is aligned in the correct position.
TIP! This can be quite tricky. That’s why we use the alligator we cut out of our stencil and place it on the sock as a guide. With a bit of fiddling and shifting, we’ll get it sorted.
Once we’re happy with the alignment, we mark the corners of our template by sticking tape to form right angles. Thanks to these registration tabs, everything will stay neatly in place for any subsequent print runs.
Once everything is aligned, we can lower the screen frame and repeat STEPS 10, 11 & 12 of this DEMO.
Just a reminder:
► place an ink bead at the top of the stencil
► flood the screen and fill the mesh with ink
► and print!
Repeat this a few times if necessary until you are happy with the result.
TIP! If the mesh is completely free of ink after printing your design — in this case, our alligator — the print has usually been successful.
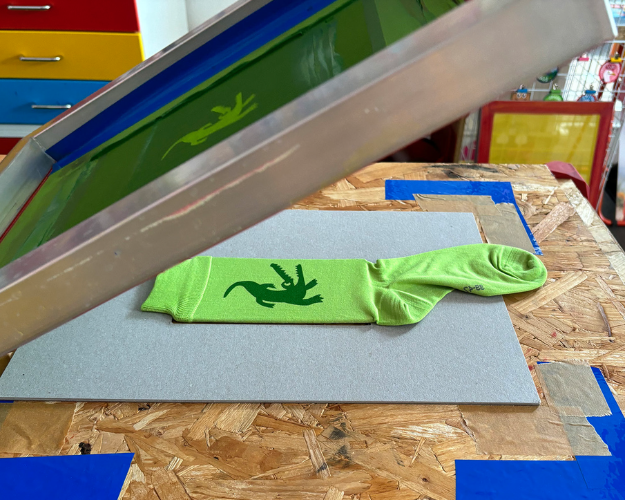
One of the most exciting — and slightly nerve-wracking! — steps in screen printing is lifting your screen frame after printing — did it work or not?
If you’re using this CUT PAPER STENCIL technique, your stencil should still be on the screen, and you can print loads of things before it starts to break.
If you use this technique, you do need to work fairly quickly because you don’t want the ink and the stencil to dry on the mesh and become difficult to remove. So, once you’ve finished printing, remove the stencil from the mesh straight away.
TIP! If your design has lots of loose, small pieces, you can use some tape to remove the pieces from the mesh quickly and easily.
It is important to wash the ink out of the mesh with plenty of water immediately after printing. If you don’t have a dedicated sink, a pressure washer, shower head or garden hose will do the job perfectly!
TIP! If you hold your screen printing frame up to the light, you can see if any ink residue has been left behind.
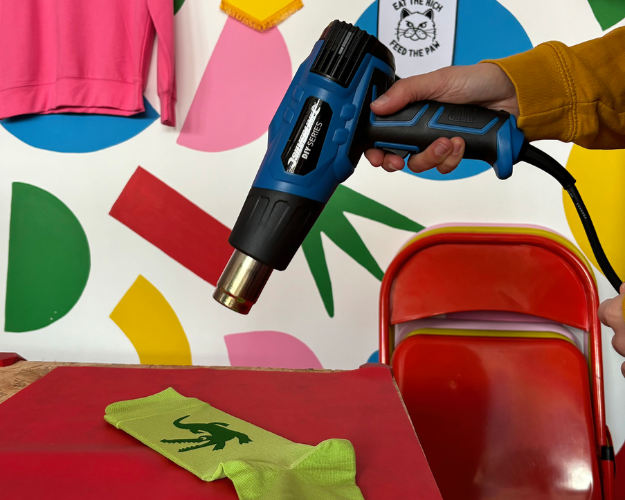
Leave the inlay in the socks whilst they are drying. You can leave them to air dry overnight. Or, like us, you can use a heat gun or a hairdryer.
TIP! Don’t overdo it. If you speed up the drying process too much, it can lead to problems such as the ink not curing properly, poor adhesion or the ink cracking after washing.

As with all garments that are washed, the ink needs to be heat-set after drying — heat curing. We have a heat press in our studio, but you can also use an iron — set to the highest temperature, without steam, for about 5 minutes.
► We were feeling inspired and printed a second pair of socks. Red ones, with a seagull on them — let’s go gulls!
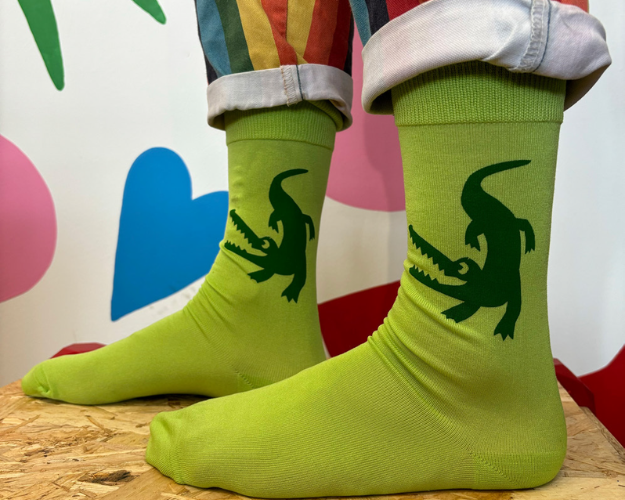
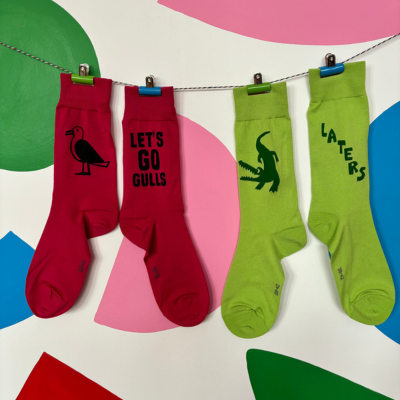
► Result — the printed socks ~ Laters & Let's go Gulls!
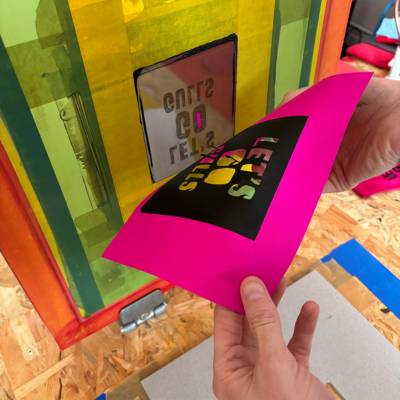
► We were really looking forward to it and printed a second pair of socks — let's go gulls!
We hope you enjoyed our DEMO — happy printing!
► over studio hello DODO™

Hello! We are hello DODO™ — AKA Ali and Jam, although most people refer to us as “the DODOs” and we don’t mind that at all. From our Worthing (UK) studio and shop we screenprint our own colourful designs on to ethically sourced clothing and homewares — creating fun stuff for fun people!
We established hello DODO™ in 2011 as a bit of a creative side project, but very quickly it became so much more than that to us. We taught ourselves to screen print from our kitchen and made every mistake in the book, at least twice, until we got it right.
► More from studio hello DODO™ — they warmly invite you to follow them!
- website — studio hello DODO™
- Instagram — studio hello DODO™
- Facebook — studio hello DODO™
- shop — studio hello DODO™
- contact — studio hello DODO™
© 2024/2026 — text: studio hello DODO™ & Gerstaecker NL editorial team | © 2024/2026 — images: studio hello DODO™, Speedball®, Gerstaecker NL and GreatArt editorial team