









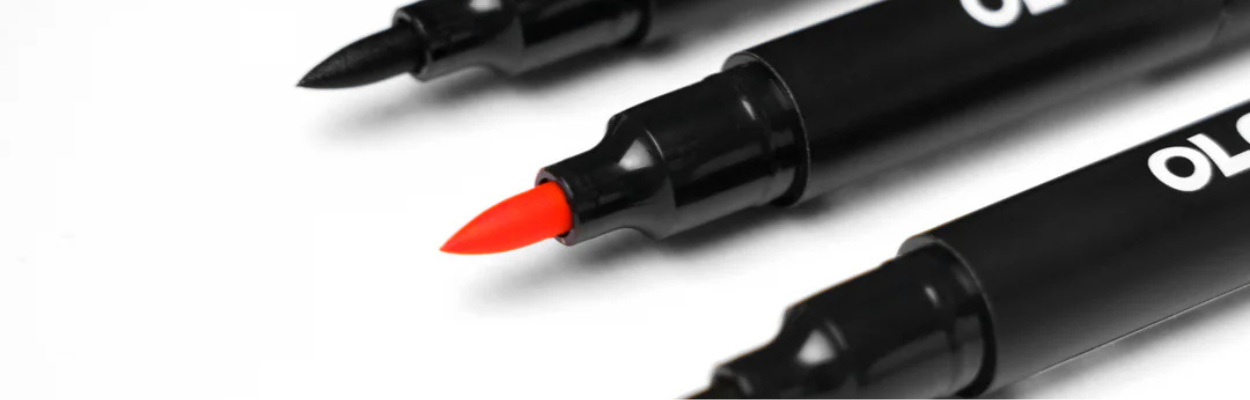
With a style built around precision, bold colour, clean lines and geometric form, DRT is a natural fit for exploring the versatility of OLO alcohol markers. In this blog, DRT shares his experience of working with OLO markers from an artist’s perspective, exploring how their vibrant colours, precision and blending capabilities can complement his distinctive approach. Drawing on his experience of creating work both on the street and in the studio, DRT looks at how elements of his signature aesthetic can be translated from large-scale spray-painted pieces onto paper, using OLO markers to build depth, definition and striking geometric forms.
Your Marker, Your Way: Discovering the OLO™ Marker System
For artists, the right tools can make all the difference. A
marker should feel like an extension of your hand, responsive, comfortable, and
adaptable to the way you create. That’s the idea behind OLO™, a marker
system designed to give artists more control over colour, ink, nibs, and even
the way they hold their markers.
Your Marker, Your Way
One of the things that makes OLO™ different is its modular
design. Artists can customise individual markers or build marker sets around
the colours and nibs they use most.
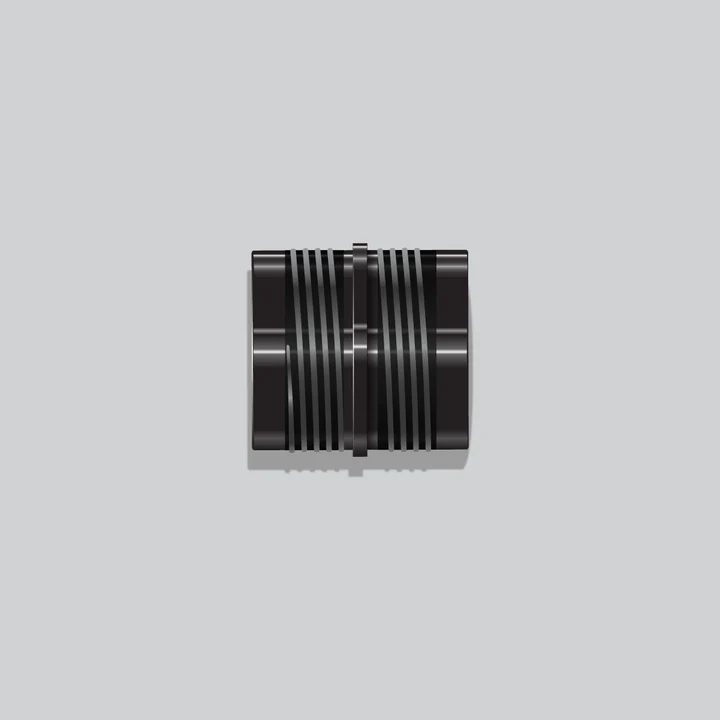
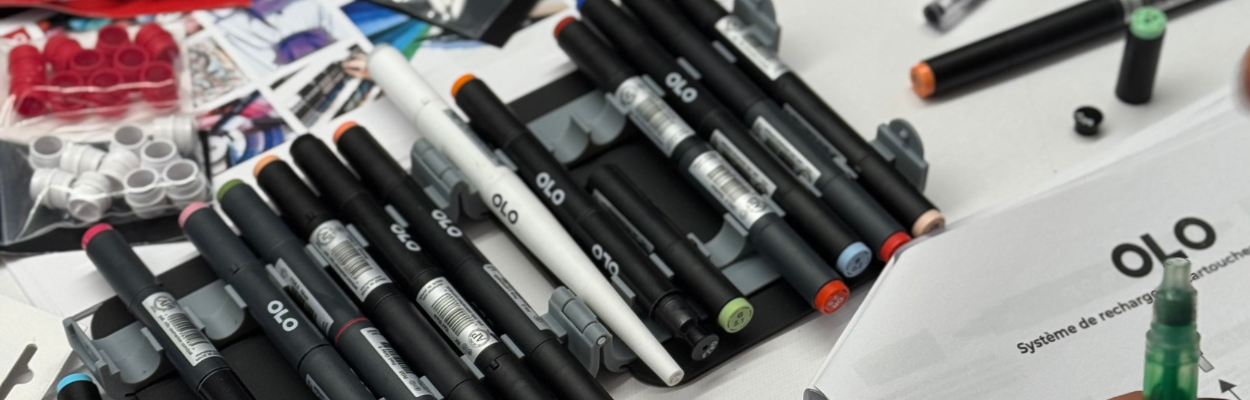
The OLO Connector Ring allows you to combine
different OLO™ marker ink colours, nibs, and accessories, creating a setup that
works specifically for you. Accessories such as the OLO Handle take that
customisation even further.
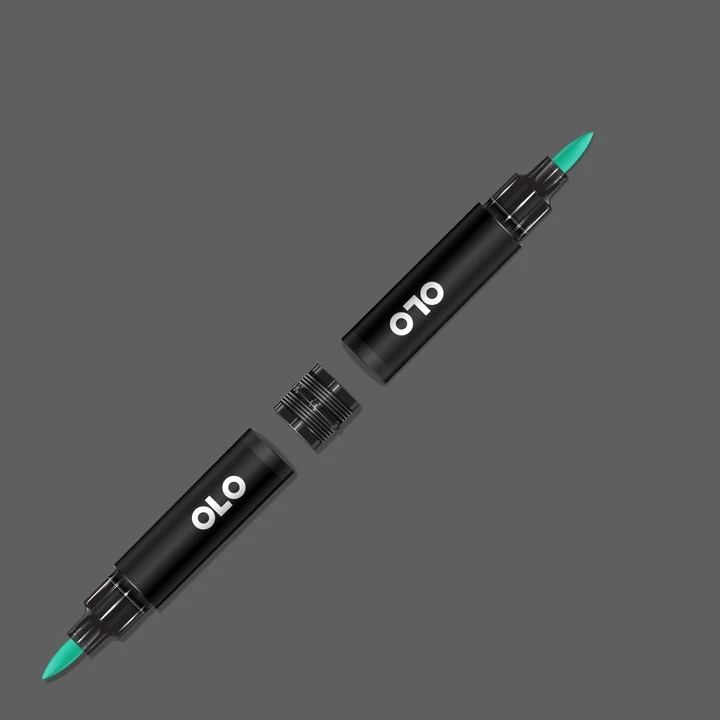
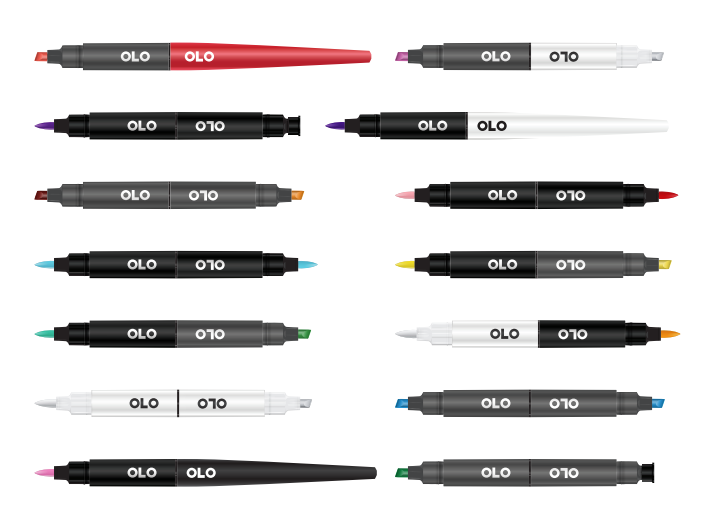
Even the marker bodies have been thoughtfully designed to
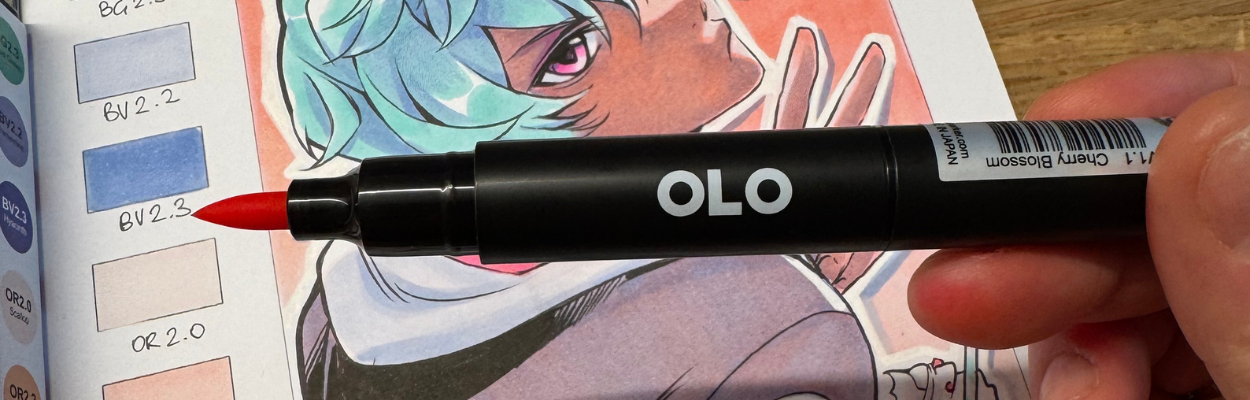
make nib identification quick and easy. The black marker body identifies
the brush nib, dark grey identifies the chisel nib, and white
identifies the ZERO™ colourless solution marker.
It’s a small detail, but when you’re working quickly,
knowing exactly which nib you’re reaching for can make a big difference.
Accessories Made for Control
The OLO Handle expands on the system’s focus on
control and comfort. It connects to your marker using the same system and gives
you an alternative, more painter-like grip.
Whether you’re working on a large illustration, spending
hours on a detailed piece, or simply prefer a different sensation in your hand,
the handle gives you another way to personalise your workflow.
It’s not just about adding an accessory, it’s about finding
the setup that feels right for you.
The Technology Behind OLO™
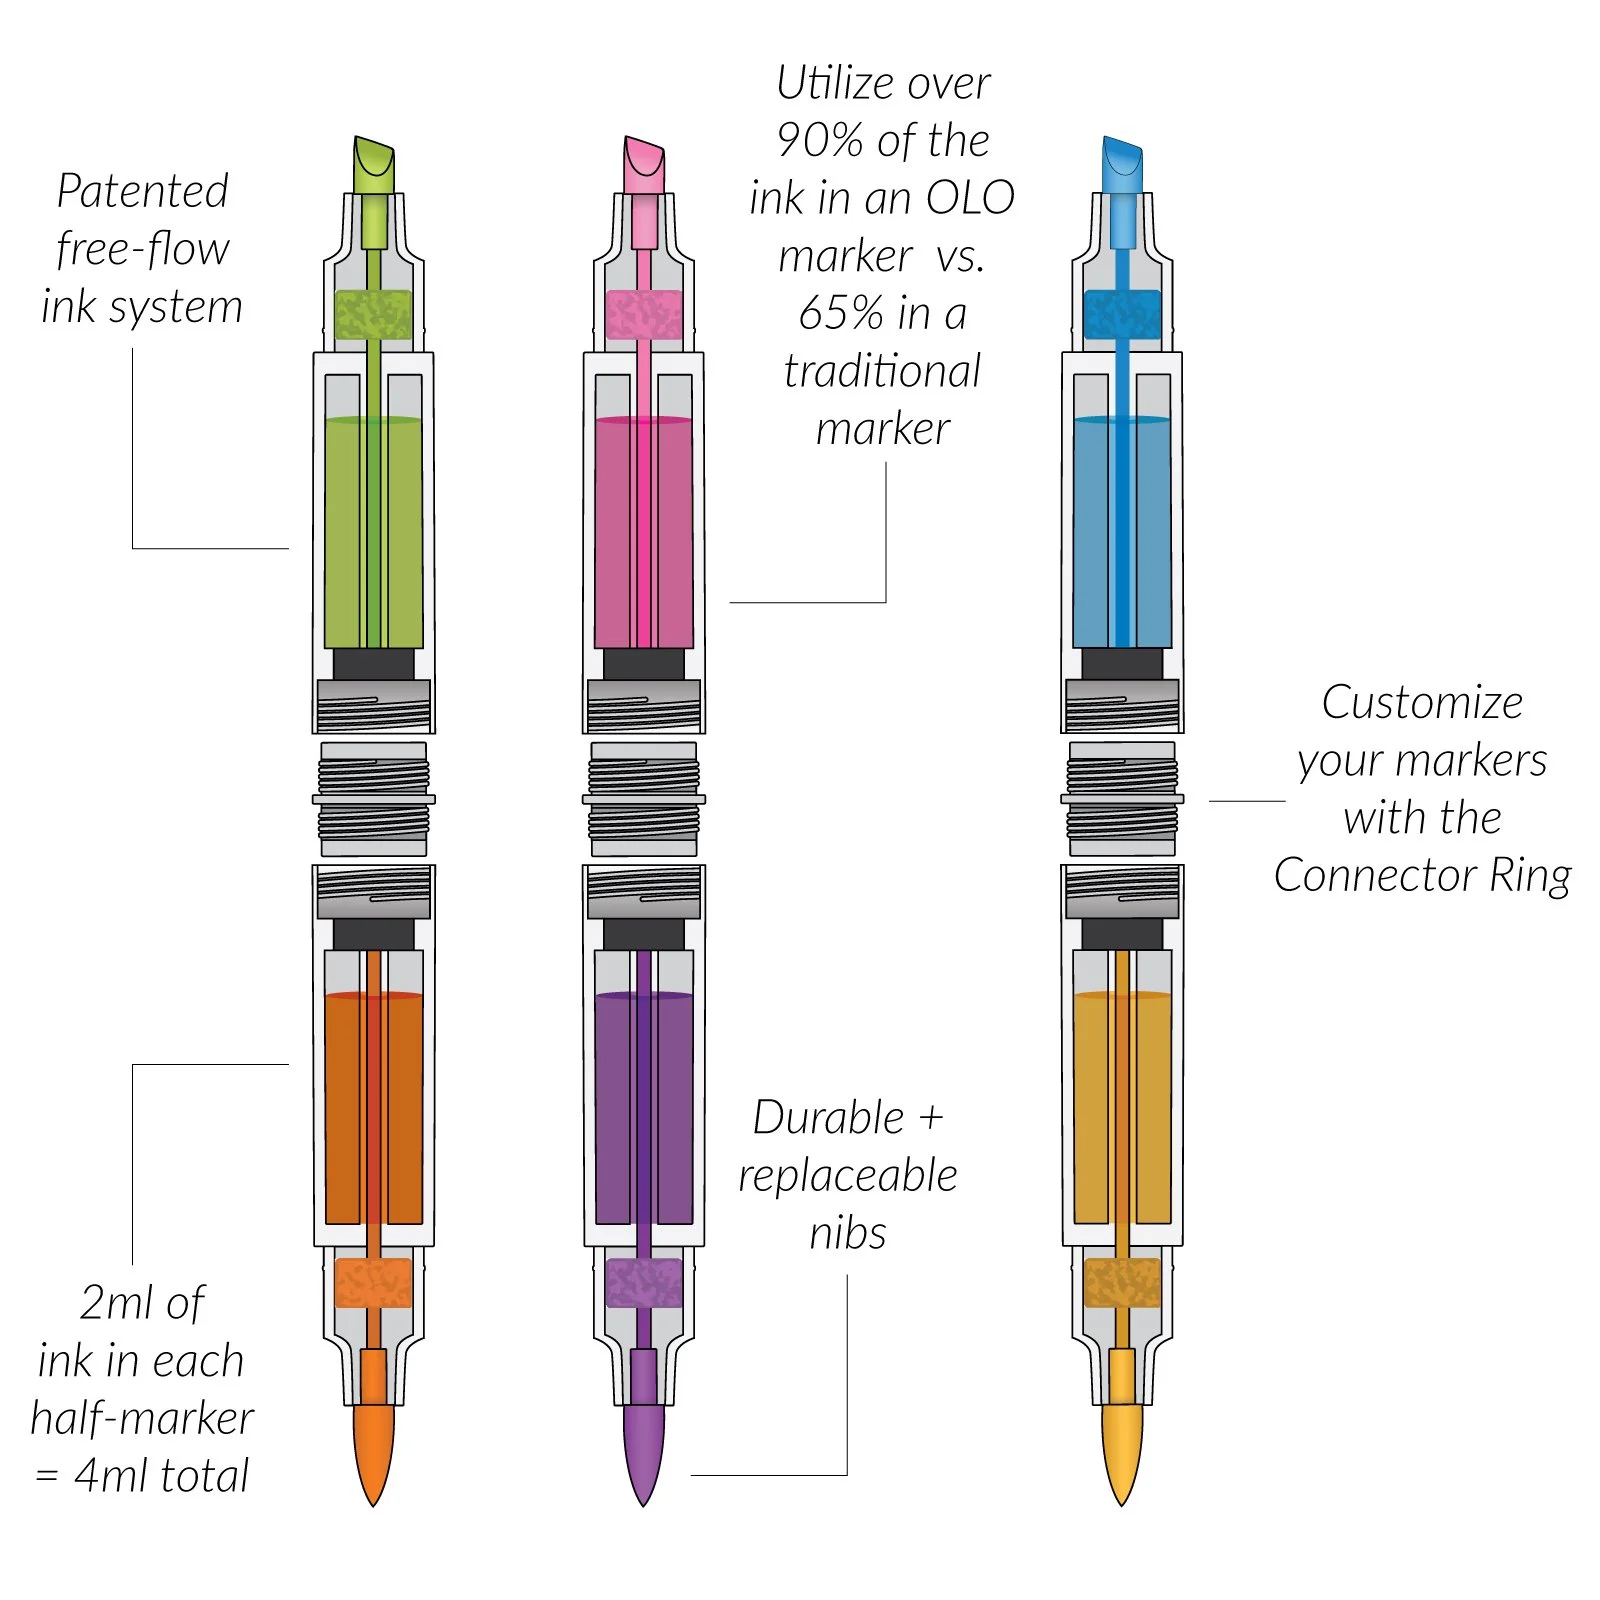
Made in Japan, OLO™ markers use a patented free-flow ink system designed to address some of the limitations found in traditional alcohol markers.
Many conventional alcohol markers use an absorbent material inside the marker to hold the ink in place. While this technology has been used for decades, OLO points to a significant drawback: that material can trap a substantial amount of ink, up to around 35%.
As the trapped ink degrades over time, ink flow can decrease and the effective ink capacity of the marker can be reduced.
OLO takes a different approach.
Rather than relying on an absorbent core, its free-flow system allows the ink to remain available for use.
.png)
Unparalleled Value
Each OLO™ half-marker contains 2ml of ink, giving a
total of 4ml in a double-ended marker. By comparison, traditional
alcohol markers typically contain around 2ml of ink in total.
According to OLO, its patented free-flow technology allows
artists to utilise over 90% of the available ink, compared with
approximately 65–70% ink usage with standard marker technology.
That means more of the ink you purchase is actually
available for creating.
High-Quality Japanese Nibs
Ink is only part of the equation. The nib is where the
marker meets the artwork, and OLO™ puts considerable emphasis on its
Japanese-made nibs.
OLO nibs are crafted in Japan by an experienced nib
manufacturer, with a focus on smooth flow, durability, precision, and control.
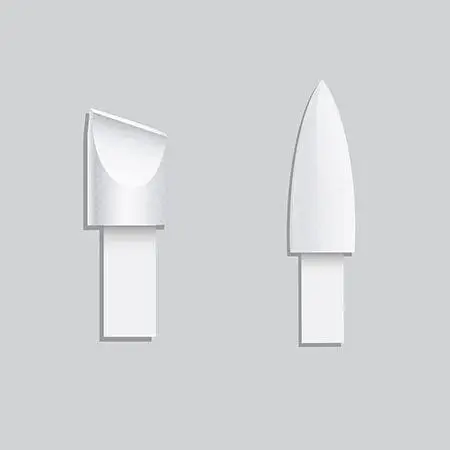
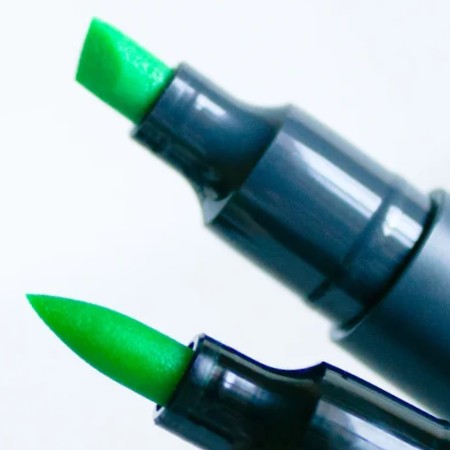
The Brush Nib
The brush nib is designed for expressive, fluid movement.
Its flexibility allows artists to vary their lines naturally, making it
particularly suited to illustrations that require movement, transitions, and a
more organic feel.
The Chisel Nib
The chisel nib is designed as a versatile 3-in-1 tool.
Its different edges and surfaces allow you to create broad fills, clean edges,
fine details, textures, and stylised lettering—all from a single nib.
For artists who like to get multiple techniques from one
tool, that versatility can be especially useful.
The Heart of Colour™
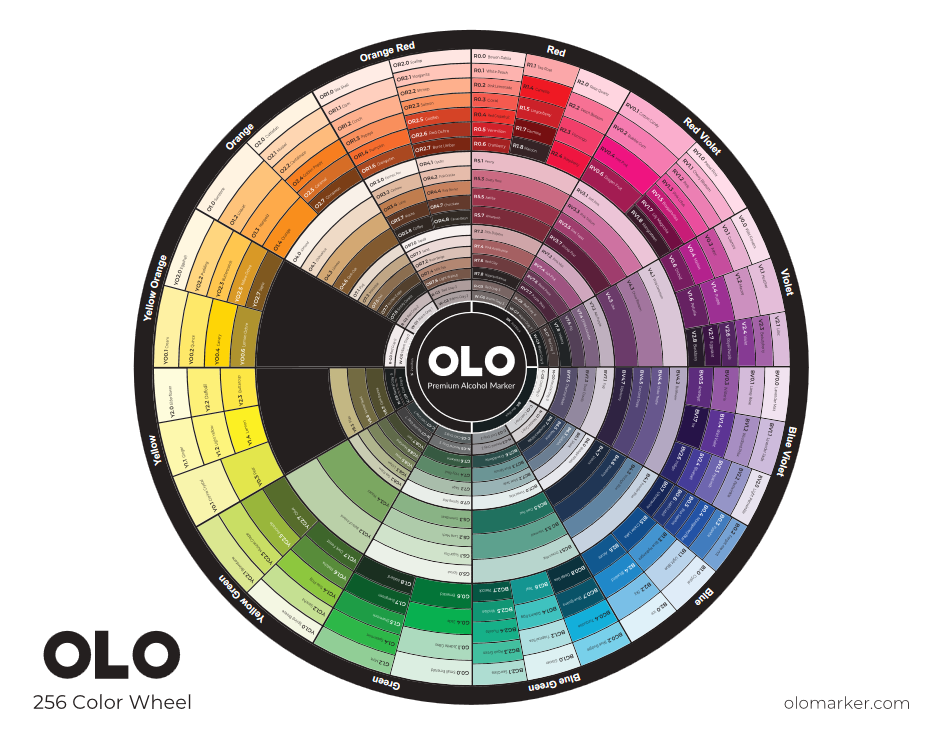
At the centre of the OLO™ system is its colour palette.
OLO offers 256 vibrant hues across the colour
spectrum, alongside a selection of greys designed to help artists extend their
colour range and create greater depth.
The system is organised to make navigating the palette
easier:
- The
Letter identifies the colour family.
- The
Hue represents a group of colours within that family.
- The Value represents the intensity of the colour, from light to dark.
Rather than simply choosing colours at random, the system
gives artists a framework for understanding how the colours relate to one
another.
A New Approach to Refilling
Another interesting part of the OLO system is its replacement
ink cartridge.
With traditional alcohol markers, refilling can sometimes be
messy and time-consuming. As internal absorbent components age and degrade, ink
capacity can also be affected.
Because OLO™ markers don't use absorbent material inside the
marker, there is more space available for ink, and the ink isn't held inside a
material where it can become trapped.
When your ink runs out, the solution is refreshingly simple:
replace the ink cartridge.
No messy refilling process. No need to replace the entire
marker. Just swap the cartridge and keep creating.
Meet ZERO™
And then there’s OLO ZERO™.
Despite the familiar term “colourless blender,” OLO takes a
slightly different approach to what this tool is actually for. Rather than
thinking of ZERO as a traditional blender, think of it as a colourless
solution designed to work alongside OLO alcohol markers.
ZERO can be used to:
- Dilute
colour
- Add
texture
- Minimise
mistakes
- Create
effects without introducing additional colour
Its defining feature is right there in the name: ZERO
colour.
A Marker System Built Around the Artist
What makes OLO™ interesting isn't simply one individual
feature. It’s the way the different elements work together.
From the free-flow ink technology and Japanese-made nibs to
the modular marker design, replacement cartridges, colour system, and
customisable accessories, OLO has built its markers around the idea that
artists shouldn't have to adapt themselves to their tools.
Instead, your markers can adapt to you.
Whether you're looking for expressive brushwork, precision
with a chisel nib, a more comfortable grip, a broader colour system, or a
cleaner way to manage your ink, OLO™ offers a different approach to the
traditional alcohol marker.
Introduction to DRT
I'm a South East London based geometric street artist and
lucky enough to have painted across the world. My work is all about sharp
lines, bold fills and that feeling of depth that makes you want to step into
the piece. I use spray paint as my main tool, and I love creating fades and
layers that give everything that three-dimensional feel.
I do a fair bit of studio work too, and I've used acrylic
paint pens a lot over the years. They've got their place, great for control and
clean lines but blending with them is basically a non-starter. You're either
doing graffiti-style colour fades that leave the mind to do the work, or hard
transitions and accepting that the feel of the piece is going to change. That's
always been a bit of a frustration.
So when GreatArt got in touch about testing out the OLO™
Premium Alcohol Markers, I was genuinely excited. Alcohol-based markers are
known for their blending and that's exactly what I wanted to explore.
The OLO™ System: What You Get
OLO markers are a bit different to what you might be used
to. The whole range is built around a modular system, the markers are actually
two "half-markers" that you join together using OLO™ Connector Rings. Each half contains a different colour, so you can create
your own custom two-in-one markers depending on what you're working on.
I went in a bit sceptical about this, it sounded like a
gimmick. But honestly? It's genuinely useful. Being able to snap two colours
together means you always know exactly what you're working with side by side,
and your second colour is literally in your hand. For someone like me who's
always thinking about colour relationships and transitions, that's actually a
smart bit of design.
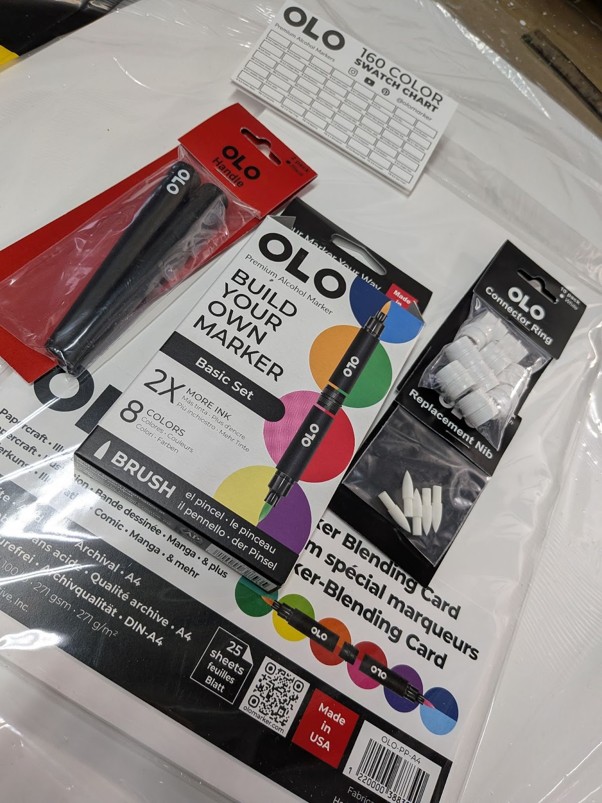
The set I tested was the OLO™ Premium Alcohol Marker Set
Brush Nib, 8 Markers. These come with 4 connector rings included, plus
a mini blank swatch card so you can record your colours as you go. The sets are
curated by theme, there's Basic, Urban, Portrait, Comic, Architecture,
Landscape, Sea & Sky, Rich, Muted and more, so the colour selection is
already done for you, which is handy if you're just getting into markers. I
tried out the Basic colour selection, it seems a good place to jump in.
OLO™ Brush Handles Pack of 2: These let you
use a single half-marker as a proper brush pen, turning it into a standalone
tool rather than always needing to connect two halves. Feels solid in the hand.
OLO™ Replacement Nibs Pack of 5: Good to know
these exist. Nibs do wear down over time with any marker, so being able to swap
them out rather than replace the whole pen makes sense.
OLO™ Premium Marker Blending Card Pack of 25 Sheets:
More on this below, but short version: don't sleep on this.
The Blending Card: Actually a Big Deal
The surface holds the ink well and lets you build up layers
properly. It's one of those things you don't realise matters until you're
actually using it. On this, you've great control. It made a genuine difference
to my results, especially with the fades.
Getting Started: Colour Chart and First Tests
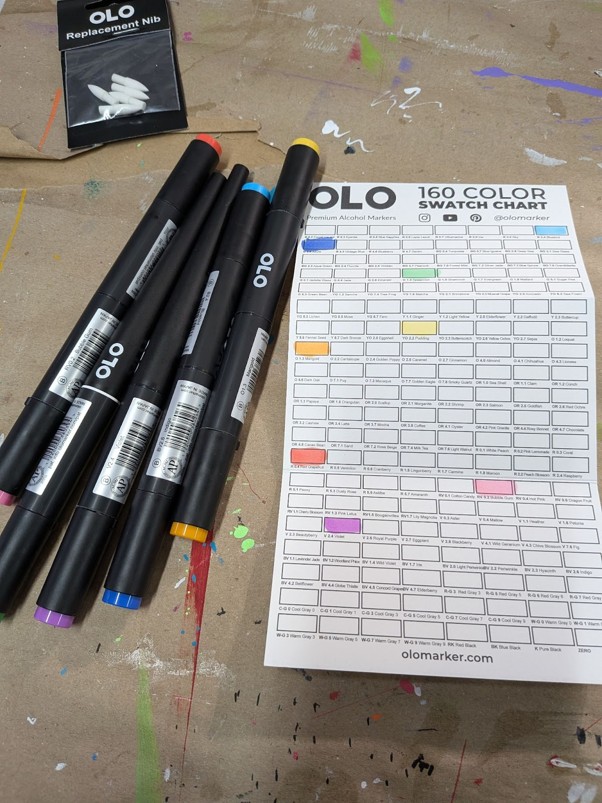
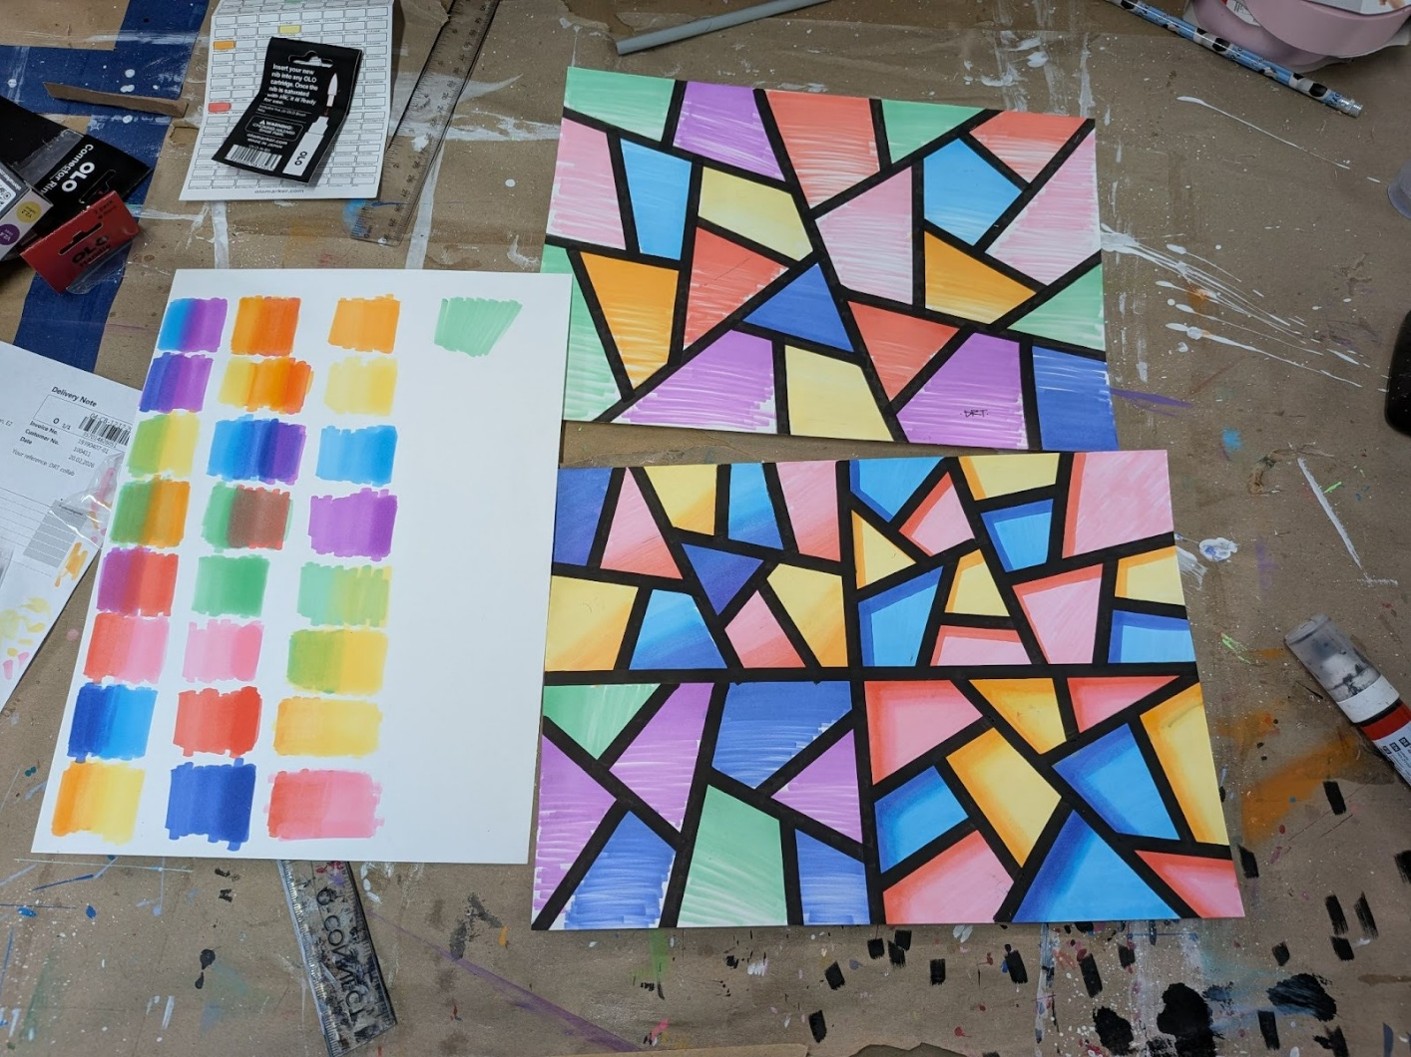
First thing I did was fill out the colour chart. OLO has a
range of 160 colours, which is a solid selection there's plenty to work with
across every palette you'd need. Starting by swatching everything out is
something I'd recommend regardless of your experience level; it just gives you
a proper reference to work from.
After that I went straight into testing, seeing how the
colours sat on the blending card, how the ink behaved, and whether I could
actually get the blending to do what I wanted. I started with single-colour
fades (one colour from heavy to light), then moved into two and three-colour
fades. This is where it got interesting.
There's definitely a learning curve here. Getting smooth
transitions with alcohol markers isn't instant, the technique takes a bit of
time to feel the rhythm of how the ink moves. But I want to be clear: it didn't
feel frustrating or like hitting a wall. It felt more like learning something
that rewards you quickly. Within a reasonable amount of time I was getting
results I was actually happy with.
The Brush Nib and Brush Handles
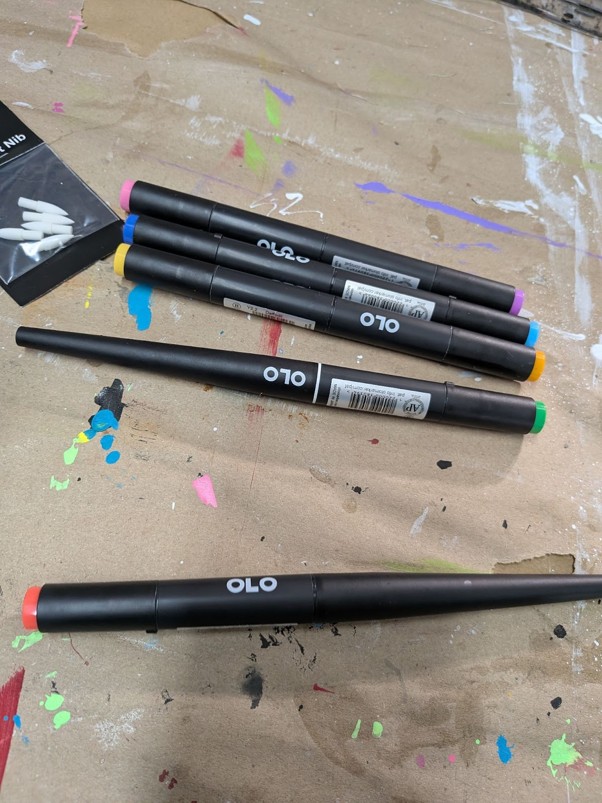
The brush nibs on these are really good. Some brush markers
can feel almost too flexible, you lose the control and it becomes hard to get
clean edges. These have a nice quality to them where you get the expressive,
painterly feel of a brush, but with enough structure that you're not fighting it.
It felt like proper brush quality with good control, which for my kind of work,
all about precision, is exactly what I need.
The OLO™ Brush Handles are a fun addition. Being able to use
a single half-marker as a standalone brush pen changes how you interact with
the colours, and it's a pretty elegant solution. Feels like it was thought
through properly rather than just bolted on as an extra.
From Sketches to Final Pieces
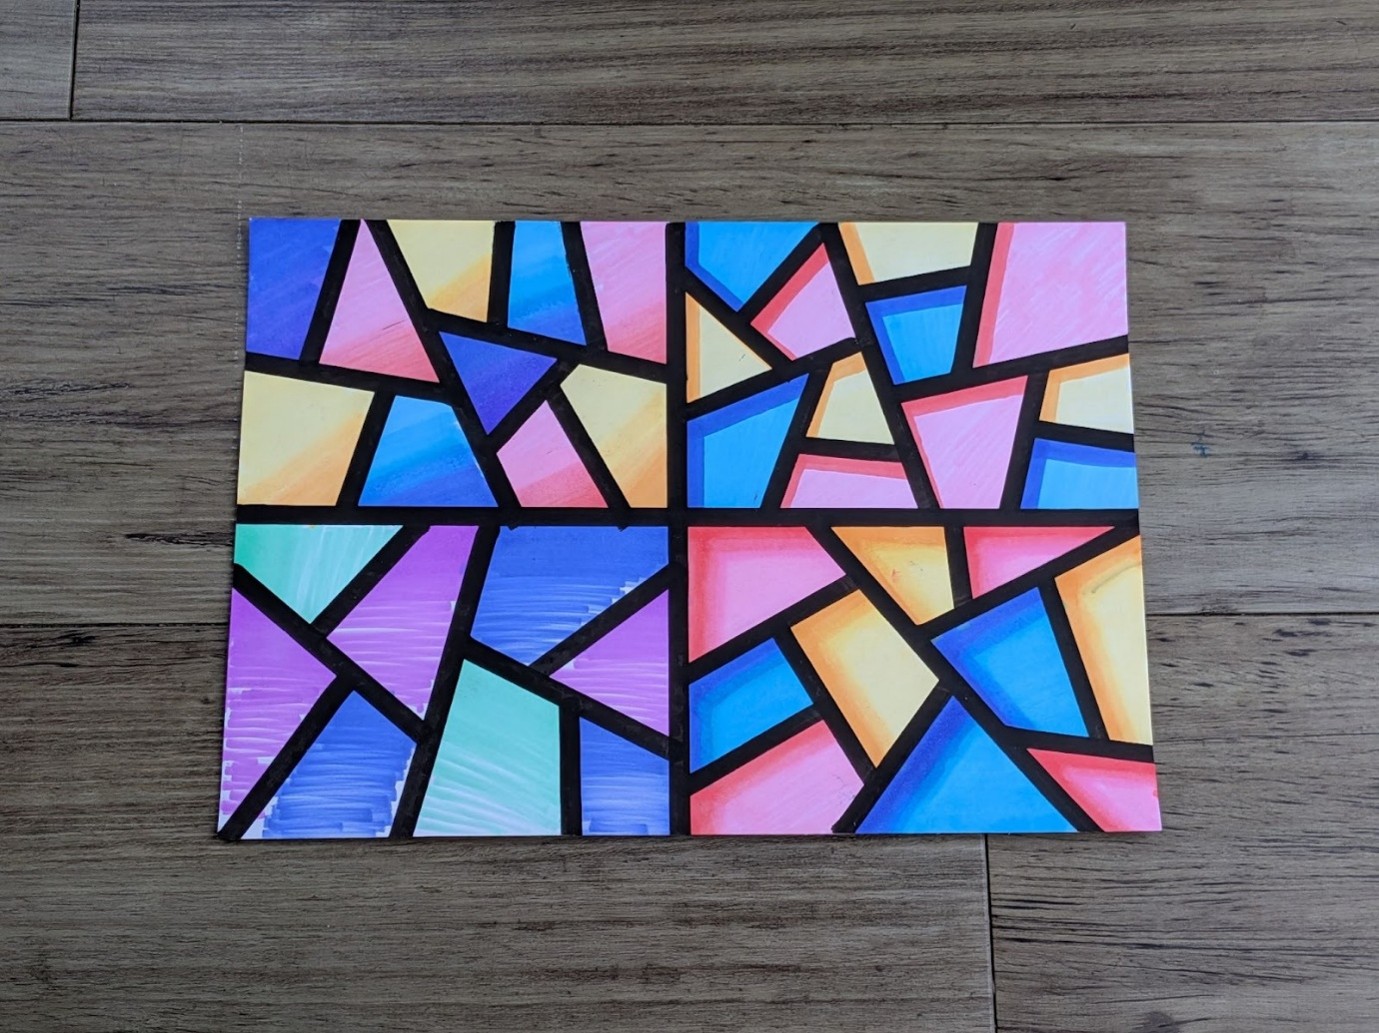
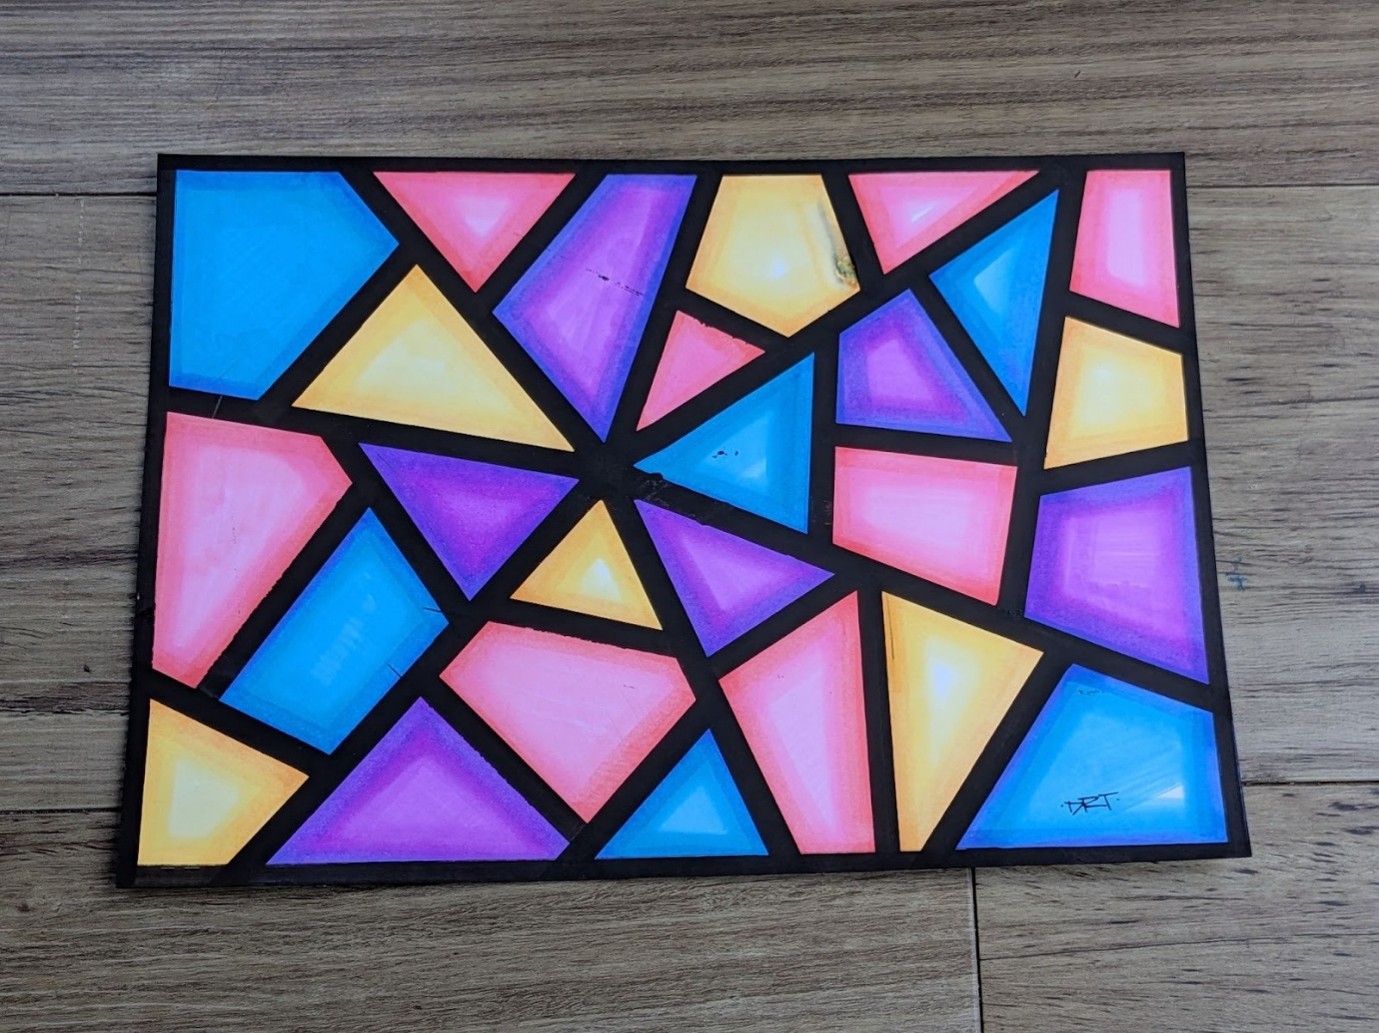
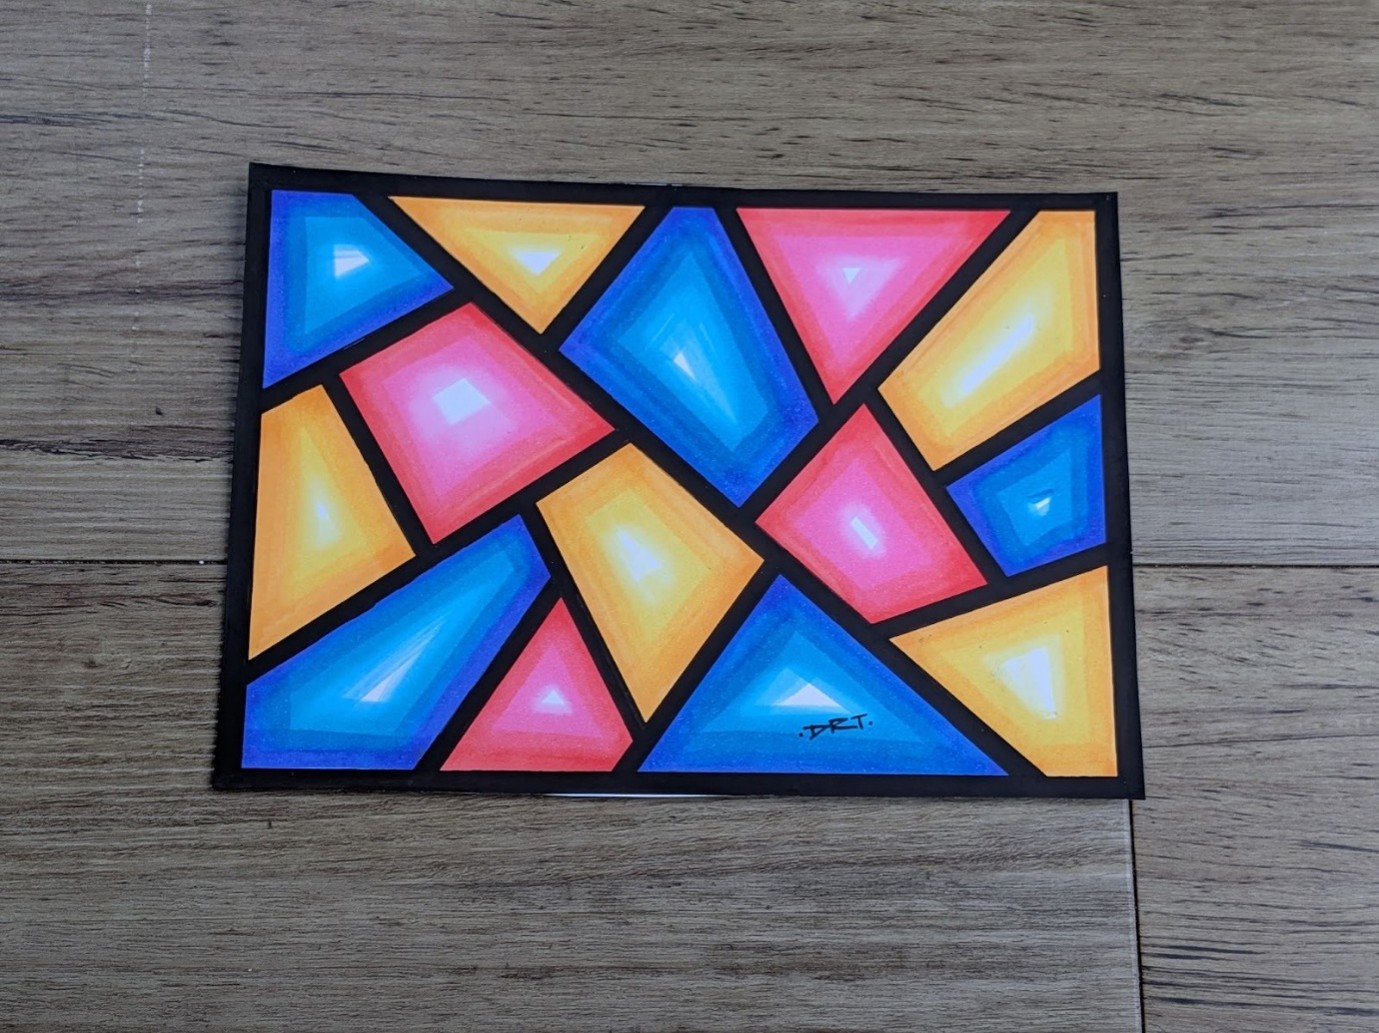
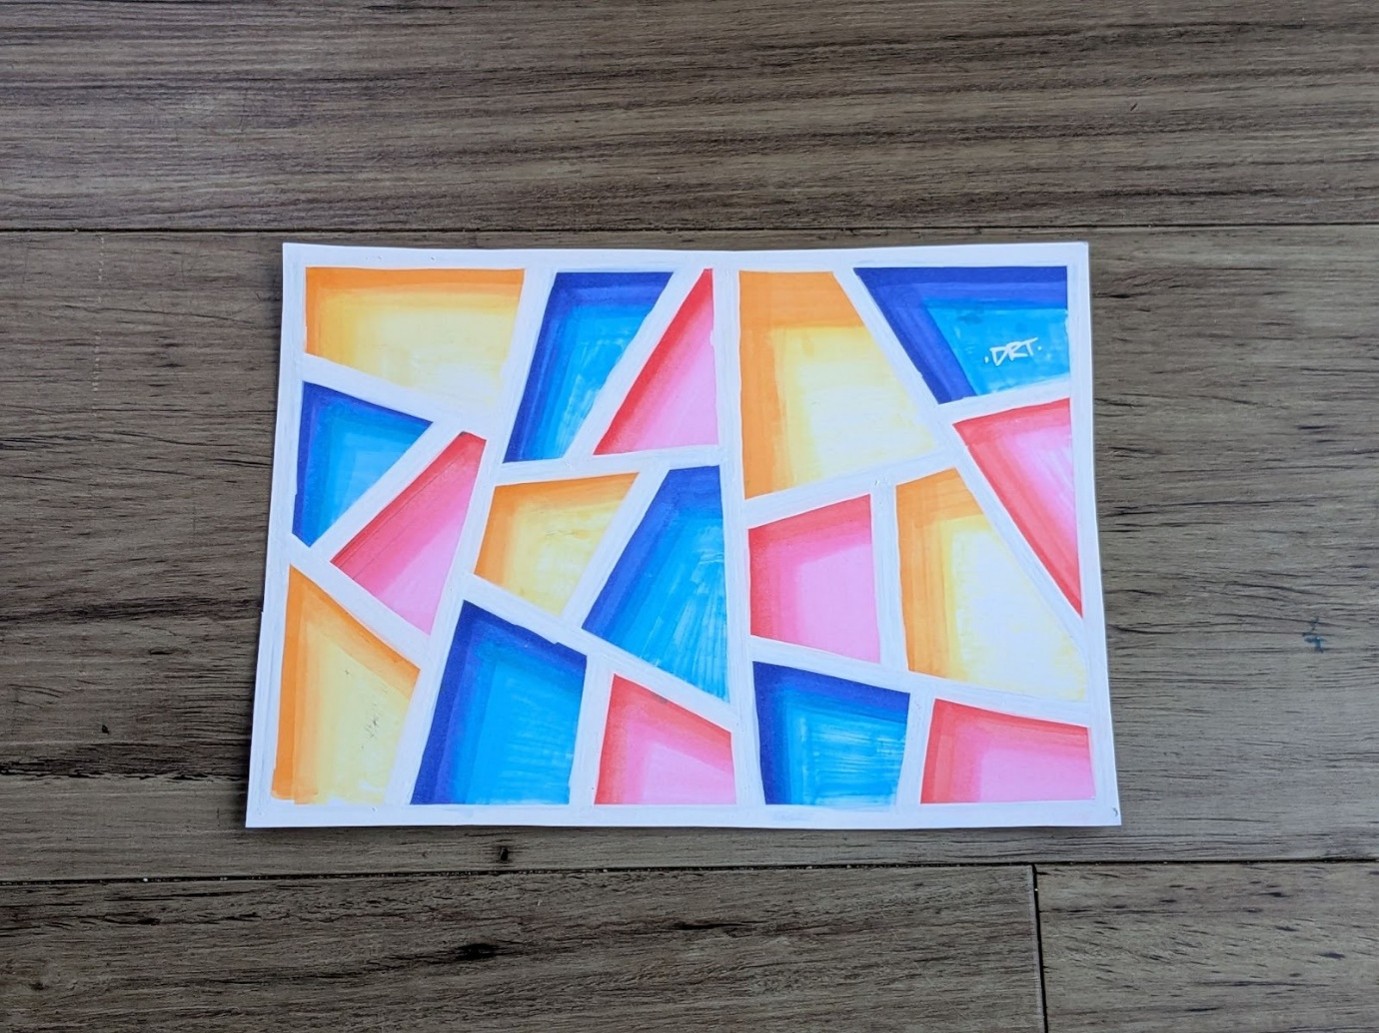
From there I did three final pieces, applying the geometric
style I normally work in, all sharp shapes, clean fills, and that layered
depth. What I found is that the blending opened up a different kind of feeling.
It's softer, more gradual, it reminds me of the way light comes through stained
glass. That translucent, luminous quality is something I'd really like to
explore more with these.
Verdict
I'm genuinely positive on these. The OLO markers opened up
something I'd been missing in my studio work, smooth, controllable blending
that lets you build up colour in a way that acrylic pens just can't do on
paper. The results I got pretty quickly gave me a good feeling about where I
could take them with more time.
The modular build-your-own system is genuinely useful once
you get your head around it, don't write it off as a gimmick like I nearly did.
The blending card is worth buying alongside the markers, not optional. The
brush nibs are quality. And 160 colours is a wide enough range that you can put
together a really solid palette for whatever style you're working in.
The learning curve is real but it's the enjoyable kind, the
kind where you feel yourself getting better fairly quickly and want to push it
further. For me the next step is using these to really chase that
stained-glass, light-through-colour effect in my geometric work. Watch this
space.
If you're a street artist curious about taking your style
into studio work, or just anyone who wants to play with proper blending, these
are worth your time.
About DRT
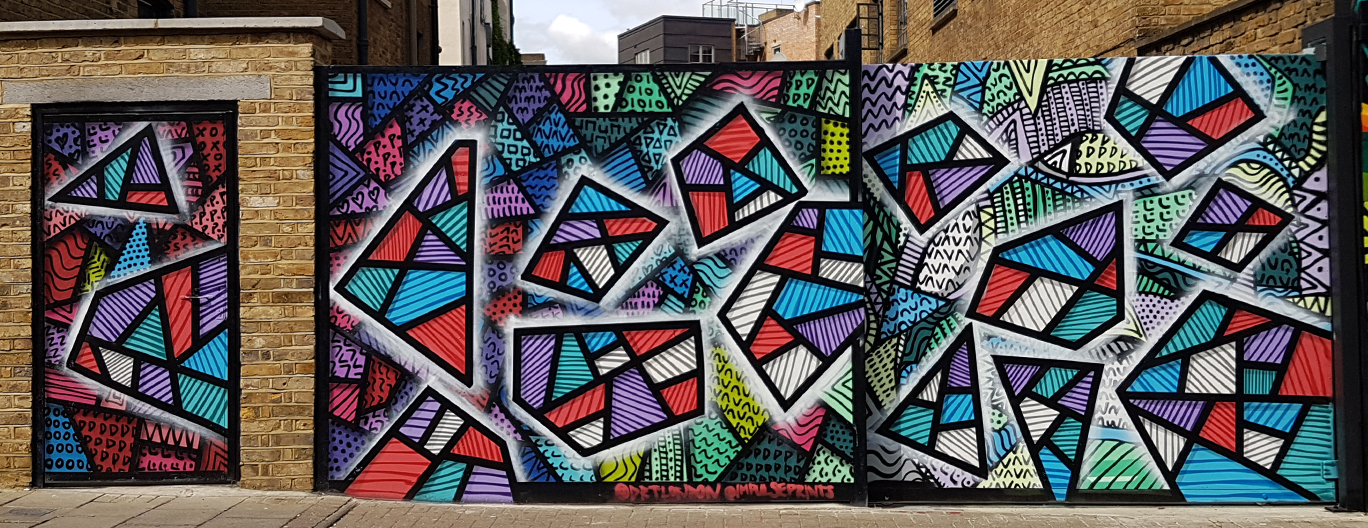
DRT is a South East London-based street artist. Known for his unmistakable geometric work characterised by sharp lines, bold fills and a strong sense of depth, DRT works outdoors in freehand spray paint and has a complimentary mixed media studio practice.
Instagram: @drtlondon